

Getting to be a part of your first Steam Next Fest is exciting. In fact, being a part of any Steam-sanctioned festival that helps put a spotlight on your game is magical. There are only so many opportunities to have your game displayed on the front page of one of the greatest gaming digital storefronts of all time. So, when the time comes, you want to ensure that you pull out all the stops and do everything you can to make your indie game shine. One of the best ways to do this is to do a Steam broadcast of your game.
Going Live on Your Steam Page for Free

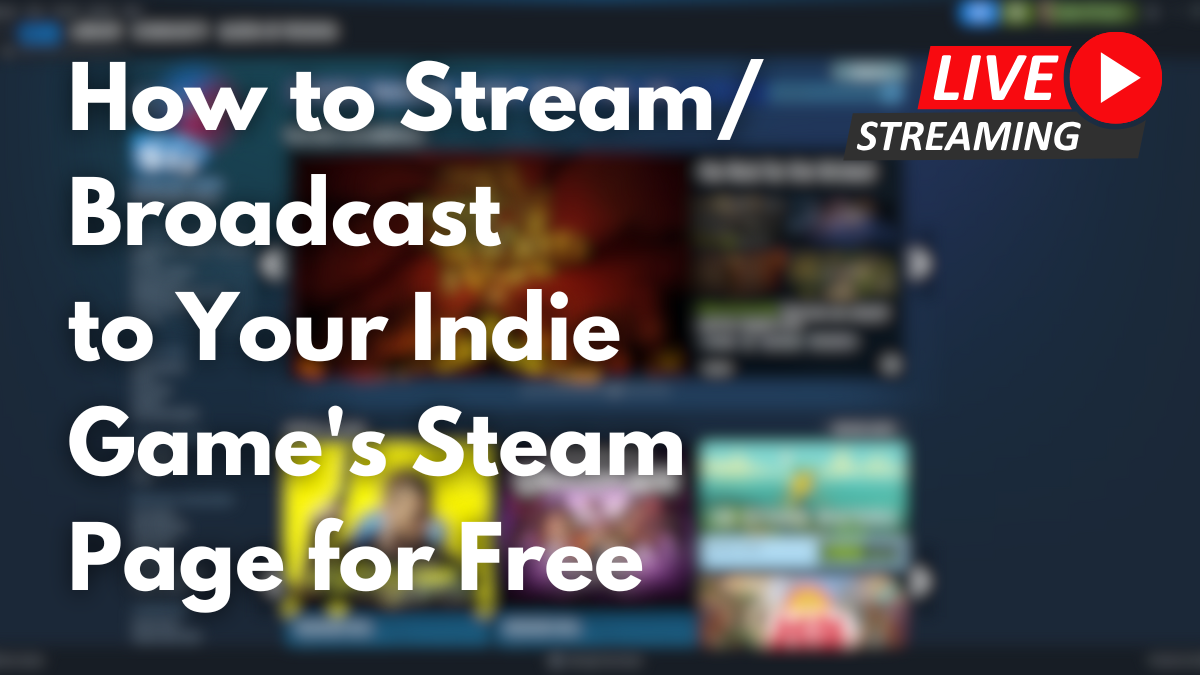
Whenever a game is being played live, a shiny, ‘LIVE’ button will appear over the main image capsule whenever you see it on the Steam client. This lets people who are casually scrolling by that there is something going on with that particular game. Notice how only one of the above games has the ‘LIVE’ button on it?
Then, when you click into the game, the store page is vastly different and more interesting than any other store page. Above any of the game’s information or images will be a window displaying a stream of the game sidelined by two custom images. This helps make your page much more interesting and attractive, especially during a festival where thousands people are looking at hundreds of store pages every day.
Unfortunately, Steam doesn’t make going live a very straightforward process. So, this is the most detailed step-by-step on how to ensure that your next event goes off with a bang.
RELATED: Kingdom Hearts 3 Perfectly Showed How Not To Market Your Game (Analysis)
Step 1 – Live or Pre-recorded?

This is an important question because despite the livestream being considered live, it doesn’t actually have to be. If you’d like to go live on your Steam page, then you don’t need to worry about recording your gameplay session before the date you want to actually show it off. However, regardless of which of these you do, I recommend using OBS Studio for this.
No, this isn’t a personal preference or anything like that. Various sites will tell you that you need to use a paid service to record yourself playing games or broadcast a pre-recorded video of yourself. That isn’t true.
Regardless of whether you’re going live or pre-recording the event, follow these instructions to get started:
- Set up your stream parameters to your preferences.
- Using the Steam account associated with your game, go to https://steamcommunity.com/broadcast/upload.
- Now, go to OBS Studio and open the Settings.
- In Settings, head over to the Stream option.
- Click on the Service drop-down menu and select Custom…
- Click on the Server text box and paste in your Upload Server information, as pictured in the image above next to the number 1.
- Click on the Stream Key text box in OBS Studios and paste in the Upload Token information, as pictured in the image above next to the number 2.
- Again in OBS Studios, head over to the Output option and select Advanced Mode.
- Change the Keyframe Intercal to 2 s.
- Ensure that the Rate Control is CBR.
- In the area next to number 3 in the image above, plug in your game’s app ID number from Steam.
- EVEN IF YOU ARE PLANNING TO STREAM A DEMO OF YOUR GAME, INPUT THE MAIN GAME’S APP ID, NOT THE DEMO’S.
- Set your Steam Broadcast Delay to six seconds.
- Set your Viewer Permissions to Public.
- Set your Chat Permissions to your preference.
- Click the Update Settings and Permissions button at the very bottom to save your preferences.
Now, whenever you go live with your game, Steam will pick up the livestream and display it on your store page. Unfortunately, that isn’t the end of it all.
Live Stream
Now that you have all of the above ready, it’s time for the stream itself. If you plan to go live, then you need to ensure that your Steam account is non-limited (meaning you need to spend at least five dollars on the account). With that finished, you can safely (or not safely) jump into a livestream directly to your store page whenever you decide to go live. Make sure you use that ‘Stream Now’ wisely!
However, there are still two ways to actually go live, so be aware of those:
- Go Live at Random
- If you just want to randomly go live to show yourself developing the game, asnwering questions, playing through a level, etc, then you don’t need to worry about doing anything different. Just start streaming and go on your merry way!
- Set up a Stream/Broadcast Event
- Setting up a Steam broadcast is great for when you have other people also streaming the game that you’d like to have featured on the store page. It also gives you a little more freedom to be creative because you can create specific assets for your Steam page. I’ll explain more what you need to concerning this creativity down below.
Pre-Recorded Stream

I personally prefer going a pre-recorded stream when it comes to going live on your Steam page. It helps you save time doingother things while also making the most of whatever event or festival is going on. Now, to broadcast a pre-recorded stream to your game’s Steam page, you need to, well, record yourself playing the game.
With that finished, follow these instructions in OBS Studio:
- In your Sources, press the + button and add a Media Source.
- Select the file with your pre-recorded footage in it.
- Place the Media Source with the pre-recorded footage in front of all your other sources so that it is the only one appearing in your stream.
- Extend the video to fit perfectly into your stream (or however you prefer).
- Select the media source’s Properties and check off:
- Loop.
- Restart playback when source becomes active.
- Now, your video will appear as though it is a livestream, and you’ll be given the option to either pause or play it at any time.
RELATED: SEO for Indie Games: The Marketing Channel You Can’t Afford to Ignore
Step 2 – Scheduling a Stream or Broadcast

Either you or any of your Steam admins can schedule a community event. However, if you aren’t sure how, follow these instructions specifically:
- Head over to your game’s Steam page.
- Select the Community Hub option on the top left-corner of the store page.
- Select the Hub Admin option on the top left-corner of the Community Hub page.
- You can either Post Event/Announcement to create a new event, or select Event/Announcement Dashboard to look at all your existing and scheduled events.
- When posting a new event, select the Live-Stream/Broadcast option for streaming.
- Create your event as you would any other event, until you get to the Broadcasting section.
- Select On for the Allow Steam Broadcasts to appear on event and store page?
- Under Broadcast Title, select the title (or create one) you’d like to use for the stream itself.
- Select your Broadcast Background color if you so choose.
- Under Broadcaster Allow List, ensure that you add yourself as a broadcaster as well as anyone else who plans to also stream the game during the period when your event is running.
- Set all the other settings, including Broadcast Chat and Display Wider Players to whatever your preference is.
- If you so choose, implement Broadcast Artwork.
RELATED: Creating Your Press Kit as An Indie Game Developer
Step 3 – Create Your Stream Assets
You don’t need to have any artwork for your stream, but it definitely helps make things look more interesting when potential players visit your page. The following are the dimensions that each of the artwork assets require:
- Broadcast Artwork (Left) – 155px wide x 337px tall
- Broadcast Artwork (Right) – 155px wide x 337px tall
Step 4 – Go Live
So long as you’ve completed all the above steps correctly, all there’s left to do is go live. Now, before the article ends, here is the last list of steps you’ll need to follow:
- In OBS Studio, press the Start Streaming button and wait a few seconds.
- Back on https://steamcommunity.com/broadcast/upload, select the Your Broadcast URL button on the right side of the screen to view your live status.
- Since you set your Steam Broadcast Delay to six seconds, wait the time and check your game’s Steam page.
You should see your stream appear at the very top of the page with the assets you made on either side of it. If any of the streamers that you allowed to your broadcast also stream the game and Steam picks it up, they will also be displayed on your Steam page as a secondary live video.
When you’re all done, you just need to press the Stop Streaming button on OBS Studio, and you’re all done!
What are your thoughts?